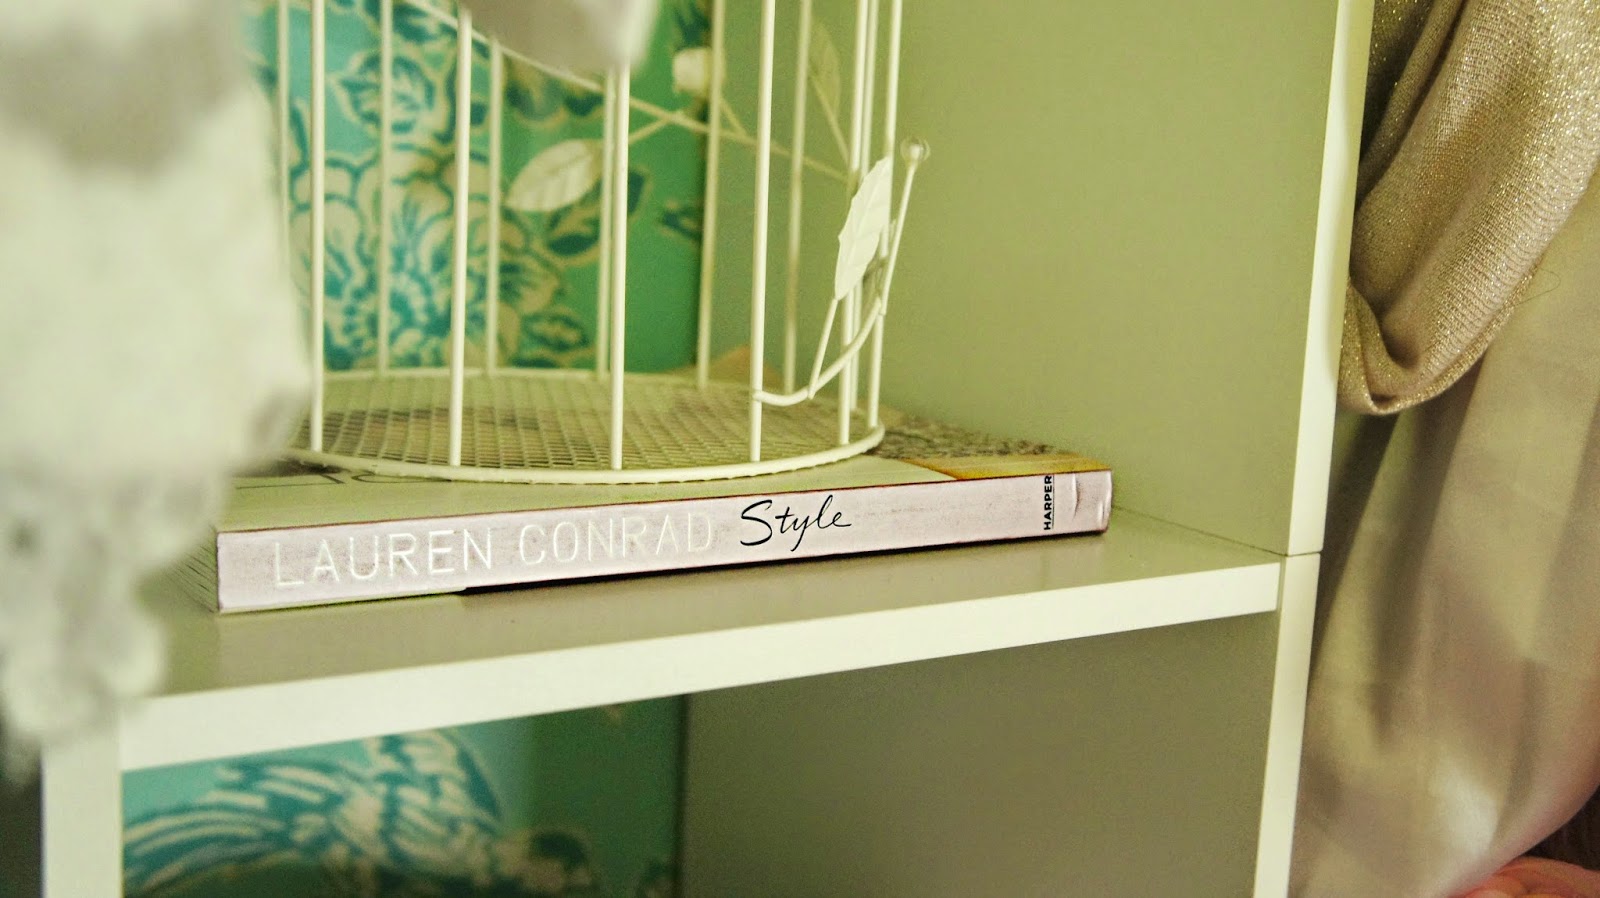
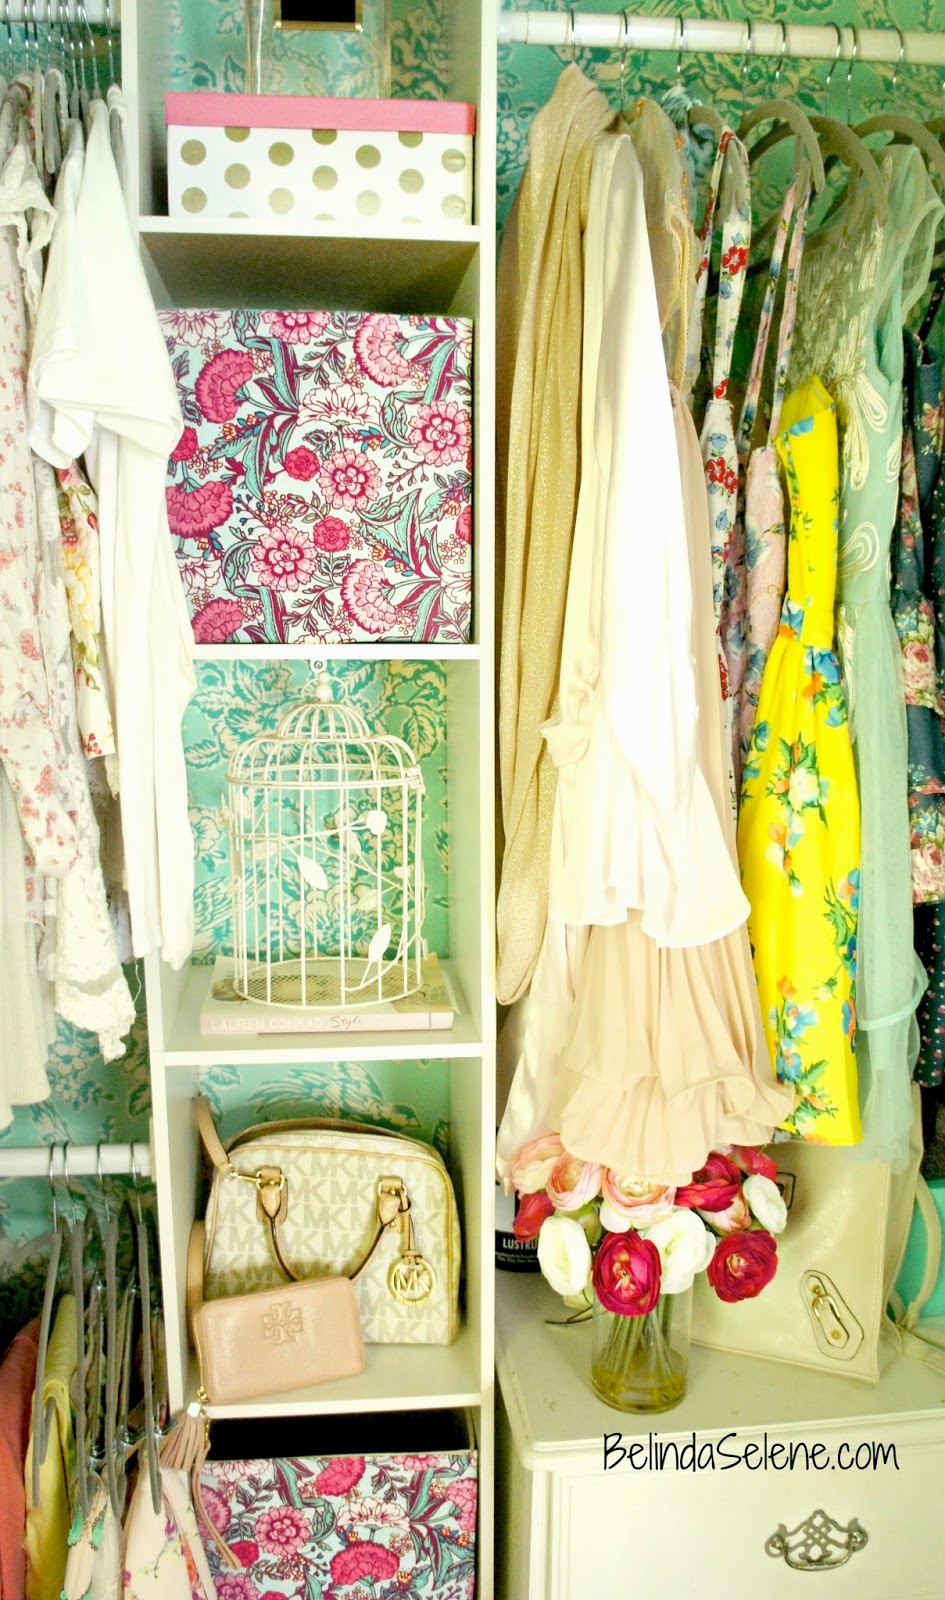
Oh oh oh my word! I seriously cannot believe how my sketches and designs came to life. I have always wanted a beautiful closet with paint or wallpaper and customized shelving, pretty much the whole works. Since Ricardo and I bought and moved into our house four months ago, I told myself that I would make it my dream house. I would decorate every single room including the closets. Now that our wedding has past and life has slowed down I am ready to renovate each room. The rest of my house is beautiful and I can take my time decorating it. What couldn't wait was this hideous closet I had in my Glam Room, the spare bedroom in our house.
I am so happy Ricardo let me do whatever I wanted with the extra room. We call it the "Glam Room" since it's my closet, craft room, vanity, and office all in one. This is my work space and where I plan to film my videos.
This past weekend we dedicated two days to renovate this baby, Ricardo called it "the Villa's extreme home make over" ha ha. My Hubby and Dad did most of the work. I felt like Genevieve or Candice from HGTV giving them my sketches and guiding things were I wanted them. It was such a great bonding moment between all of us shopping for the materials needed. I learned a lot from my Dad that day.
No one is a carpenter in my family and I didn't want to spend too much money on a small closet. I almost gave up putting up shelves and then ran across this at Target! My prayers were answered from above.
Fabric from Joann's Fabric $100 + (8 yards of fabric for three walls)
Tips for taking down your closet shelves.
Before calling my Dad to help us out, I didn't want to damage our walls. I searched online for a guide to help take down the shelves and boards in the closet. Hopefully this can help you too.
Tips for installing fabric on your walls.
1.) Measure your walls and bring the measurements with you before you buy the fabric
2.) Pick fabric that is not too shear. Outdoor fabric is more sturdy, thicker, better quality, and stains less.
3.) When buying your fabric make sure there is more than enough. I gave the measurements to the worker at Joann Fabrics, who was cutting it for me, and she calculated how I needed. She made my life so much easier.
My closet walls (3 walls)
-back wall 57"w x 92"h
-side walls 32" w x 92"h
4.)You do NOT need paste or glue. A simple staple gun will do it.
5.)Steam/Iron your fabric prior to attaching it on your walls.
6.) Fold the edges for a clean look and start at the top middle.
7.) Use as many staples as you need, don't worry you can't see them from afar.
8.) Tug and stretch fabric as you get to the sides of the wall. That's it! Super simple.
I hope all of these tips helped you out! Don't forget to subscribe to my YouTube channel for more home decor inspiration and DIY projects on Belinda Selene. If your have renovated a room or decorated a room in your house I would love to see it. Please tag me on these using the hash tag #BelindaSelene so I can like and comment on your pictures. I will also be sharing them on my blog like Jessica's closet above ;)
Muchos Besos,
Belinda Selene


Love the transformation of your closet!
ReplyDeleteXO Janina
http://janinafran.blogspot.ca
Thank you very much love!
Deletelove this! love the vintage look of the closet! i need to do sth to mine haha!
ReplyDeleteIt turned out very nice!
ReplyDeleteMe gusta mucho tu collection de ropa, zapatos y accesorios, tienes muy buen gusto y me encanta tu estilo. Te admiro mucho Bel♥
ReplyDeletehttp://thatsmehanelore.blogspot.com
I love your 😊
ReplyDeletecustom closets Madera Need to organize and de-clutter your home? Visit California Closets San Rafael for a design consultation to find the best solution for your needs.
ReplyDelete